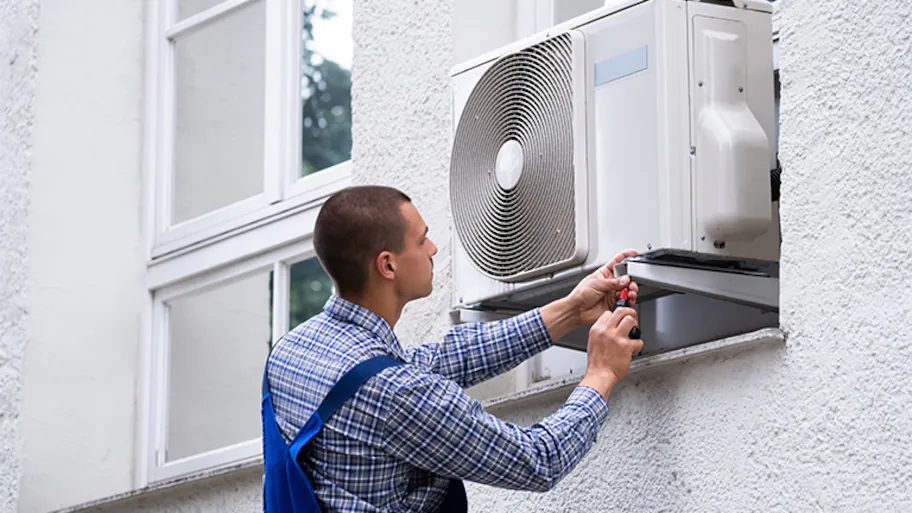
However, like all appliances, air conditioning units require regular maintenance and servicing to keep them functioning at their best. Professional aircon servicing is an essential part of this maintenance process, and it involves four key steps.
Professional Aircon Servicing: Overview
Professional aircon servicing refers to the maintenance and cleaning of an air conditioning system by a trained and qualified technician. It involves a thorough inspection of the system to identify any potential issues, followed by a cleaning process to remove dirt, dust, and other debris that may have accumulated within the unit.
During a professional aircon servicing, the technician may also check for leaks or damage to the system, replace filters, and perform any necessary repairs. The goal of professional aircon servicing is to ensure that the air conditioning system is functioning efficiently and effectively, which can help to extend its lifespan and reduce energy costs.
Regular professional aircon servicing is recommended to maintain the performance of the system and to prevent potential breakdowns or malfunctions. It can also help to improve indoor air quality and promote a healthier living environment by removing allergens and pollutants from the air.
Step 1: Inspection and Diagnosis
The first step of professional aircon servicing is a thorough inspection of the air conditioning system. This involves checking the system for any potential issues or malfunctions, such as leaks, worn-out components, or blockages in the air ducts.
The technician will also diagnose any issues that may be affecting the unit’s performance, such as a refrigerant leak or a malfunctioning thermostat. During this step, the technician will also check the system’s electrical connections and wiring to ensure that they are secure and free from damage.
They may also check the outdoor unit, including the condenser coil, to ensure that it is clean and free from debris.
Step 2: Cleaning and Maintenance
Once the inspection and diagnosis are complete, the technician will move on to the cleaning and maintenance phase. This involves cleaning the air conditioning system’s components, including the evaporator coil, air filter, and condenser coil. A dirty or clogged air filter can reduce the unit’s efficiency and cause it to work harder, resulting in higher energy bills.
The technician will also clean the air ducts to remove any dust, debris, or mold that may have accumulated. This is important not only for the unit’s performance but also for indoor air quality. Dirty air ducts can harbor allergens, bacteria, and other contaminants, which can lead to respiratory problems and other health issues.
During this step, the technician may also lubricate the unit’s moving parts, such as the fan motor and blower wheel, to ensure that they operate smoothly and quietly. They may also tighten any loose connections or replace worn-out components as needed.
Step 3: System Testing
After cleaning and maintenance, the technician will test the air conditioning system to ensure that it is functioning properly. This involves checking the unit’s temperature and humidity control, airflow, and refrigerant levels. The technician will also test the thermostat and other controls to ensure that they are working correctly.
If any issues are found during the testing phase, the technician will make any necessary repairs or adjustments. This may include adding refrigerant, adjusting the airflow, or replacing faulty components.
Step 4: Follow-up Maintenance
The final step of professional aircon servicing is follow-up maintenance. This involves scheduling regular check-ups and maintenance appointments to ensure that the unit continues to function correctly. Regular maintenance can help to prevent potential issues and prolong the unit’s lifespan.
During follow-up maintenance appointments, the technician will perform a similar inspection and cleaning process as during the initial servicing. They may also recommend any additional maintenance or repairs that are needed based on the unit’s performance and age.
Check the Effectiveness of Your Central Air Conditioner’s Cooling System:
Here are some ways to check how well your air conditioner is working.
1. Turn On the Air Conditioner:
If you want to know how well your air conditioner is working, the ideal time to do so is on a hot day. Turn on the air conditioner and let it run for 15 to 20 minutes before you try it out. Reduce the temperature to considerably below normal.
2. Find Your Home’s Vents:
Find the supply and return vents in your home when the air conditioner is running. Tissue paper can be used as a diagnostic tool for this. If the tissue paper quickly flies away after being placed on the duct, it is the supply duct.
However, if you put the tissue paper on the return duct, it will be pulled into the vent. You may start checking the effectiveness of your air conditioner once you’ve located both ducts.
3. Check the Airflow:
If the air conditioner is working properly, you should feel a cool breeze coming from it. Clogged or unclean air filters are the likely cause of any airflow restrictions. If air filters are dirty, this could mean that you want to get rid of the air filters to ensure that there are no obstacles to airflow.
However, if the filters have been recently cleaned and the airflow is still weak, the ducts may be at fault.
4. Clean Around the Outdoor Unit:
The outdoor unit requires a spotless environment. Remove any dirt, dust, or leaves that may have accumulated near the outdoor unit. Many issues could arise if dust or other debris were to get inside the outdoor unit. So, keep the system clean by keeping dirt out of it.
5. Read the Temperature:
Place a thermometer at a convenient location next to the return duct, wait for about 5 minutes, and read the reading.
Do the same thing with the other duct. Your air conditioner is functioning properly if the air blowing out of the duct is 15-20 degrees colder. Otherwise, either the filters need replacing or the refrigerant levels need checking.

