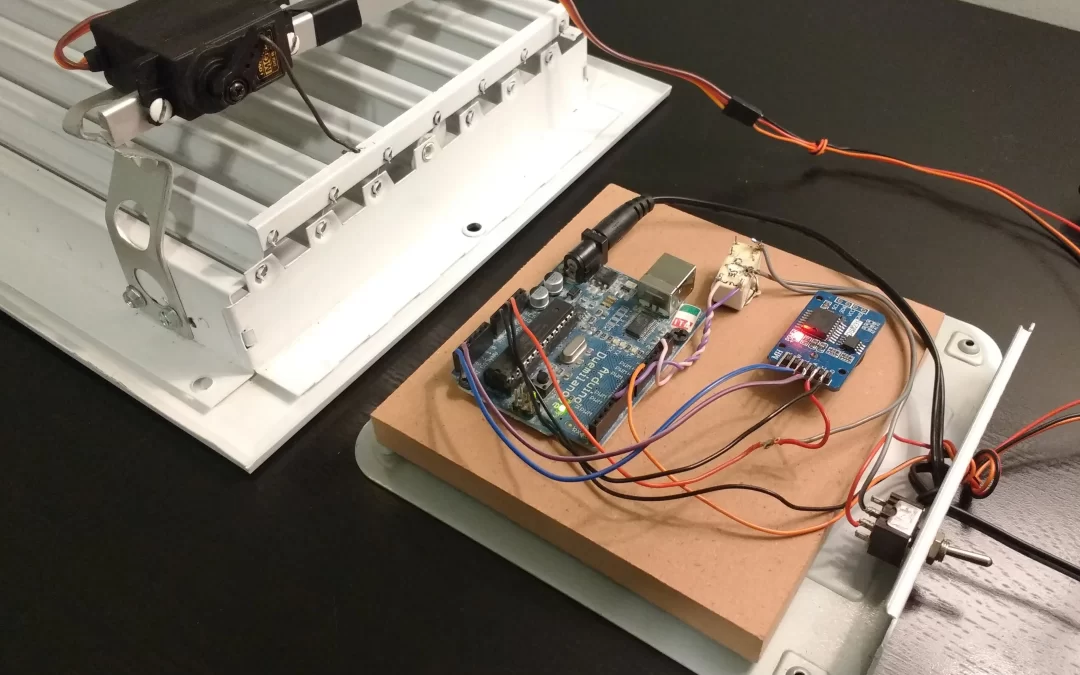
Air Conditioning Dampers: Overview
An air conditioning damper is an essential part of heating, ventilation, and air conditioning systems that are made to manage and regulate the airflow inside a system of ducts. The damper gives precise temperature control by acting like a gateway and allowing or restricting the entry of conditioned air to certain zones or regions of a building. Manual, motorized, and automatic AC dampers are only a few of the options.
The airflow can be controlled manually using manual dampers or automatically with motorized ones. Energy efficiency is maximized with automatic dampers since they are sensor-equipped to react to environmental conditions. Air conditioning dampers, when placed strategically in the ductwork, are an essential component of zoning systems, which allow building managers or homeowners to set different temperatures for different regions.
Users can improve the efficiency of their HVAC systems and maintain a comfortable indoor climate by manipulating the damper blades to guide airflow in different directions. For best performance and constant climate control throughout a space, it is vital to regularly maintain and troubleshoot AC dampers.
Steps for Fixing Damper Issues:
This comprehensive six-step approach can help you solve the problem yourself if you’re experiencing uneven heating or cooling.
Step 1: Identify the Problem
You must first determine the nature of the problem with your HVAC zone damper before proceeding with the repair procedure. If you hear any strange noises, it could be a sign that your damper needs adjusting. Noisy dampers, frayed wires, and control panel malfunctions are common complaints. Before you do anything else, turn on your HVAC system and see how the air moves through each zone. A damper problem is probably at blame if some areas aren’t getting enough airflow. You can pinpoint which areas need fixing with the help of this initial assessment.
Step 2: Disconnect Power Sources
When servicing an HVAC system, safety must always come first. First things first: disconnect your HVAC device from the power source. Find the power switch or circuit breaker that controls your HVAC system and flip it off. That way, you won’t have to worry about getting shocked when repairing the zone damper.
Step 3: Access the Damper
When the power is turned off, you may reach the zone damper that needs fixing. Usually, dampers can be found in the ductwork, either next to the HVAC unit or next to the vents in each zone. Take the panel or cover off to reveal the damper. If your system has more than one damper, focus in on the one that corresponds to the problematic area.
Step 4: Inspect and Clean
Make sure you thoroughly check the damper for any obvious problems. Check the damper for any dust, dirt, or other obstacles that could be blocking its opening or shutting. Use a gentle brush or towel to wipe down the damper and its surroundings. Find and fix any broken or unsecured parts. Extra parts, such as motors and gears, may be present in motorized dampers and necessitate servicing. Pay close attention to the wiring and fix any issues you find.
Step 5: Test and Adjust
Now that the damper has been cleaned and inspected, the system may be tested. Restart your HVAC system after you’ve turned on the power. Be sure the damper is opening and closing properly by keeping an eye on the airflow in the impacted area. If the problem still exists after that, try recalibrating the control panel or manually adjusting the damper settings.
Step 6: Advanced Techniques for Motorized Dampers
There is usually an extra step needed for motorized dampers. Look for overheating, rust, or signs of wear and tear on the actuator and motor. As directed by the manufacturer, grease all moving components. For maximum operation, it may be required to replace the motor with a compatible unit if it is malfunctioning.
Additional Tips:
- Verify if There are Manual Controls: Some zone dampers come with controls that you may use to manually change the airflow. Find out if your dampers have this function by consulting the manual for your HVAC system.
- Inspect Wiring: Damper failure may be the result of broken or disconnected wire, thus it’s important to check this. Check the damper’s wiring for damage and fix or replace it if necessary.
- Changes to the Ductwork: If temperature inconsistencies persist, it may be necessary to have an HVAC professional inspect the ductwork system. In order to fix the zone dampers that have been giving you trouble for a while, you might want to try rearranging the ducts in your system.
- Think About Upgrading Your Zoning System: Improving comfort and energy efficiency can be achieved by upgrading to a more advanced zoning system that includes intelligent zoning controls and variable-speed air handlers.
- Verify Calibration of Control Panel: Inspect the calibration of any control panel on your HVAC system that allows you to adjust zone damper settings. To achieve precise control over the temperature in each zone, read and follow the manufacturer’s instructions for resetting the control panel.
- Consult a Professional: It is recommended that you seek the advice of a professional HVAC specialist if you are uncertain about any part of the repair procedure or if the problem continues. In addition to a more thorough diagnosis, they can also offer a more comprehensive solution.
Smart Thermostat Integration: Investigate the possibility of incorporating smart thermostats into your HVAC system. With the help of smart thermostats’ sophisticated programming and remote control capabilities, optimizing zone settings is a breeze.

