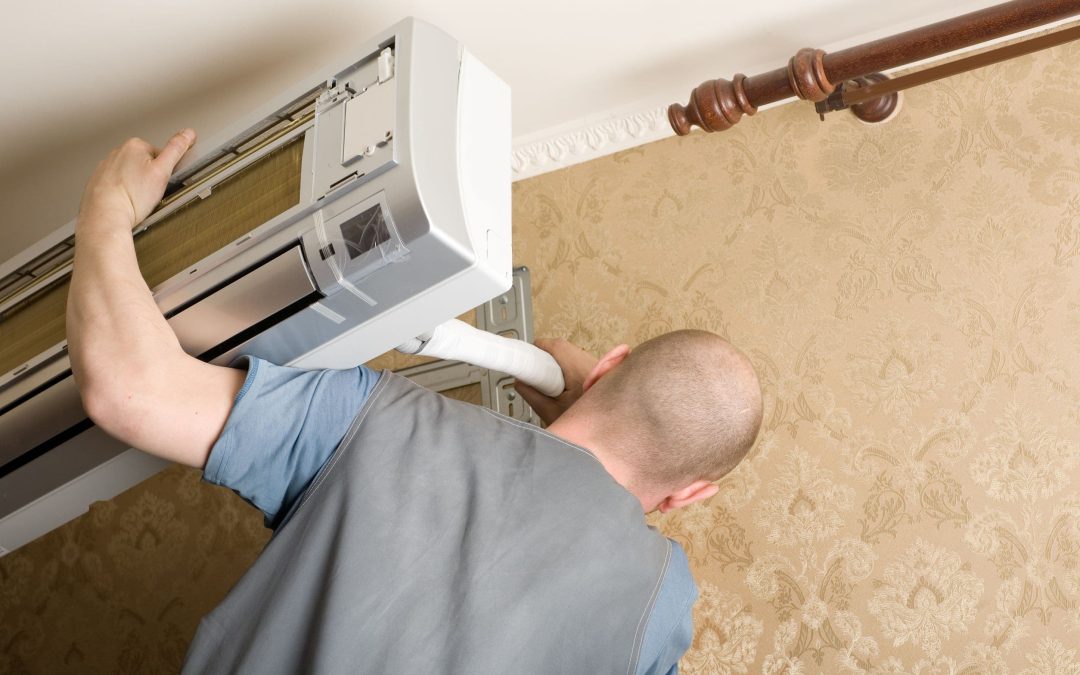
Step 1: Turn Off Power
You must ensure that the power supply to the split AC is turned off before starting the uninstallation process. Turn off the power to the air conditioner by finding its specific circuit breaker or switch. This avoids electrical mishaps and guarantees safety during the removal process. To make matters further safer, disconnect the air conditioner from the wall outlet. This will further prevent electric shock.
Step 2: Remove Indoor Unit
Take the indoor unit out of the split-system air conditioner first. Taking it off the wall requires unscrewing it from the bracket that normally holds it to the wall. The first step is to remove the front panel, which is usually fastened with clips or screws. When you remove the front panel, you should be able to see more screws that hold the indoor unit to the bracket. Take careful note of where these screws were placed so you can reinstall them after carefully removing them.
Finding the electrical connections is the next step after removing the indoor unit from its bracket. Communication wires and power cables are examples of such connections. Disconnect these wires carefully, keeping track of their locations for when you replace them. Disconnect the unit from any drainage pipe if it has one.
Step 3: Detach Outdoor Unit
Proceed to the outdoor air conditioner unit after you have disassemble the indoor unit. It is the job of this unit to disperse the heat that the interior unit absorbs. Screws hold the outdoor unit in place, just as they do the indoor unit. Take the outside unit off its mounting brackets by removing these screws with a screwdriver.
After removing the outside unit, be careful with the refrigerant lines that run between the two units. You must handle these pipes with extreme caution since they contain refrigerant. To stop the refrigerant from leaking out while you remove the system, close the pipe valves. Get a pro if you don’t know what you’re doing when handling refrigerant.
Step 4: Seal Openings
You will be left with holes in the wall where the indoor and outdoor units were attached when you remove them. It is crucial to seal these gaps in order to keep undesirable elements, water, and drafts out of your house. To make sure there is a tight seal, use weather-resistant sealant to seal any gaps. Doing this will ensure that your home’s insulation remains intact and protects it from harm.
Step 5: Document Wiring and Components
It is helpful to take notes of the components and wiring as you unplug them during the uninstallation procedure. Document the connections and settings using notes or images. If you ever need to reinstall the split AC or are ever in the position to help a technician, this paperwork will be an invaluable guide. Reinstallation goes more smoothly and parts are less likely to be mixed up when they are clearly labeled. Keep the documentation you made of the components and wiring during the uninstallation procedure in a secure location for use at a later time. Making a detailed note of all the settings and connections makes reinstallation much easier and simplifies troubleshooting.
Step 6: Secure Refrigerant Disposal
It is very important to dispose of refrigerant in an appropriate manner if your split air conditioning system contains any. It is important to dispose of refrigerants correctly to avoid harming the environment. For further information on how to properly dispose of refrigerant in your area, you can get in touch with recycling centers or local environmental agencies. To avoid contributing to ozone depletion or climate change, certain areas have established regulations for the recovery and recycling of refrigerants.
Step 7: Assess Wall Repair Needs
Check the wall’s condition after you’ve sealed the holes caused by the removed indoor and outdoor units. There can be little holes in the wall or screw holes depending on how the air conditioner was mounted and how long it took to install. Restoring the wall’s attractiveness can be achieved by repairing and painting these spots. Whether you intend to keep the wall in its current state or are getting ready to install something new, this step is crucial. The aesthetic value of your living quarters is increased by a wall that is well-kept.
Step 8: Clean and Maintain Components
You should clean and maintain the different parts of the split air conditioning units before putting them away or throwing them away. Over time, dust and debris can build up and impact the air conditioner’s effectiveness. Get rid of any dust or debris from the inside and outside units by using a gentle brush or vacuum cleaner. Be sure to check the coils and filters for any indications of damage or wear. To make sure the device works as efficiently as possible when reinstalled or used by another person, replace the filters if needed.
Step 9: Properly Dispose or Store
Think about where to put the split AC units after you’ve taken them down. Before putting in a new air conditioner, make sure to keep the old one in a cool, dry spot to avoid damage. Be careful to follow any rules in your area about the disposal of electronic devices when you throw out the units. To protect the environment, many places have regulations on how to dispose of air conditioners correctly.
Step 10: Plan for Reinstallation or Replacement
Make preparations for the reinstallation or replacement of the unit if the uninstallation of your split AC is part of a move or upgrade. Things to think about include the new spot, any renovations that will be required, and whether you’ll be putting in a brand-new unit or keeping the old one. Making preparations ahead of time will make the changeover easier and reduce the amount of time you have to wait to enjoy your HVAC system’s comfort.

